Technique Spotlight
Photographing with the Light Source in the Frame
Putting the sun, lamp, or neon directly in your composition can turn a flat scene into a cinematic moment. The key is controlling contrast, haze, and flare so the light feels intentional—not accidental.
Why include the light source?
When the light is visible, the viewer understands the scene’s direction and emotional tone. You gain stronger depth cues, more dramatic edges, and richer atmosphere—especially with dust, mist, or haze.
Creative payoffs
- Natural silhouettes and bold shapes
- Flare that signals warmth or nostalgia
- Glow that separates subjects from background
- Stronger storytelling through time-of-day cues
Core technique in 5 steps
-
1
Expose for the highlights
Spot-meter the light source or the brightest area near it. This prevents blown highlights and preserves flare detail.
-
2
Introduce a subject edge
Place a profile or object between you and the light. Hard edges create crisp silhouettes and defined glow.
-
3
Control the flare
Use a lens hood and your hand to “flag” the lens. Tilt slightly until the flare blooms in a pleasing way.
-
4
Check the histogram
Expect the graph to bunch left, but avoid clipping on the right. If needed, reduce exposure by 1–2 stops.
-
5
Shape the atmosphere
Look for haze, dust, fog, or backlit hair. These particles catch the light and add dimensional glow.
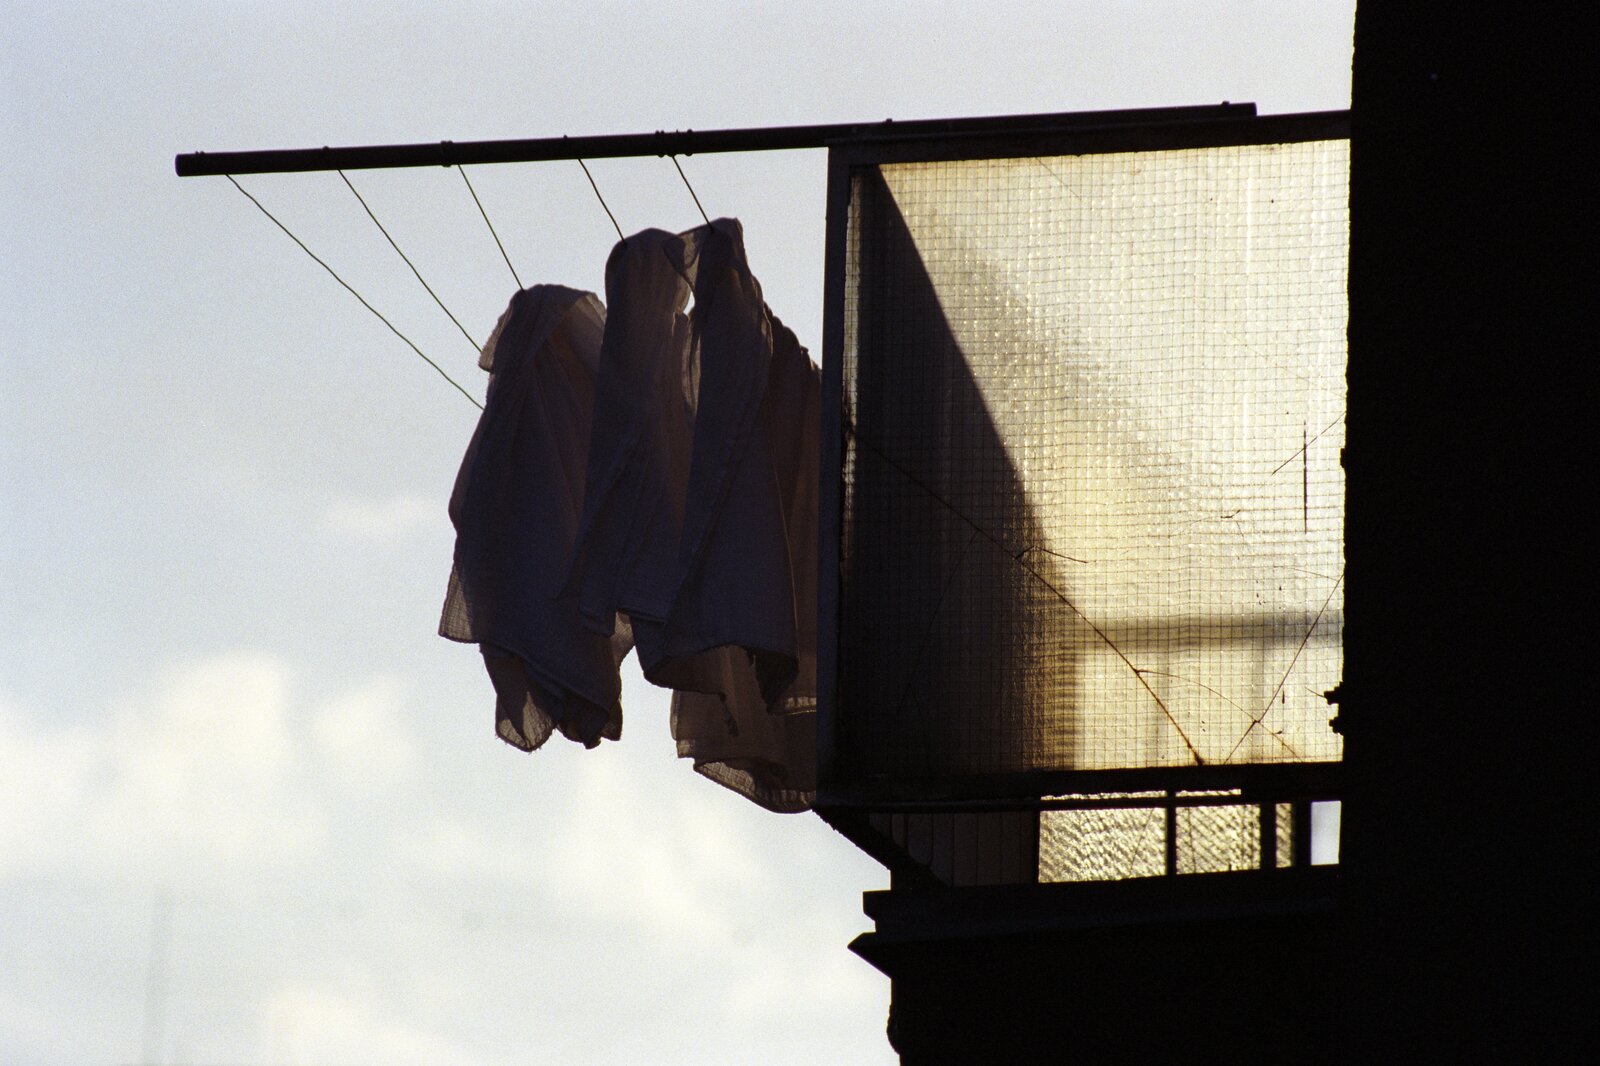
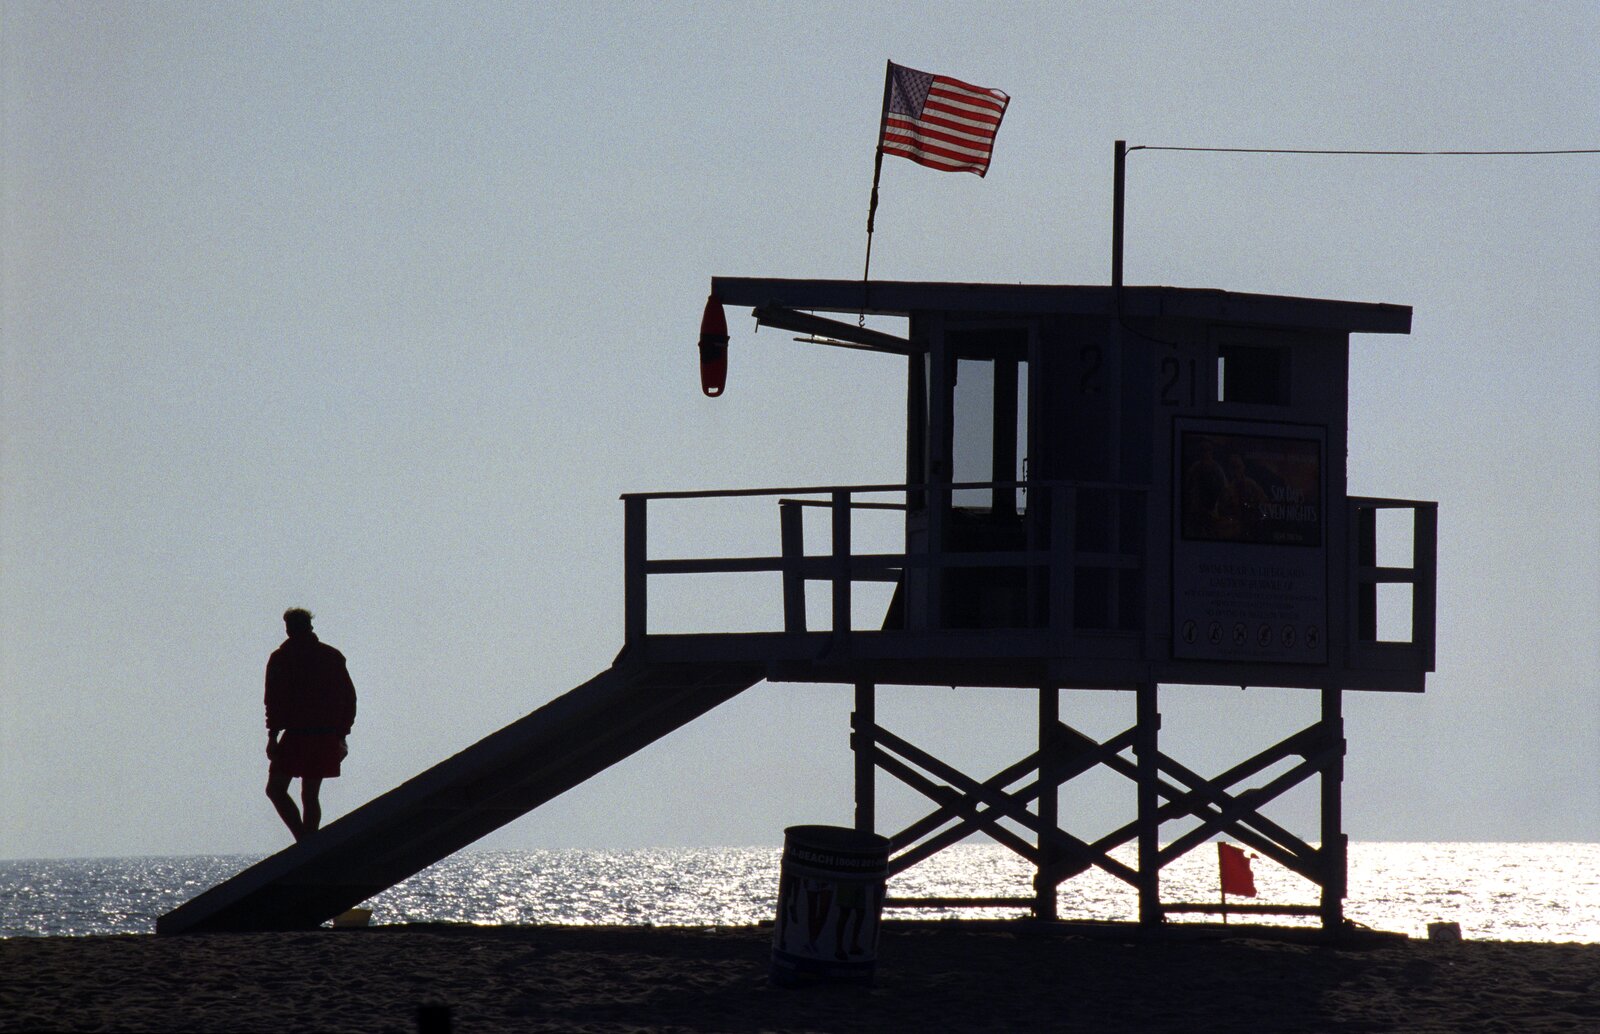
Examples with the light source in-frame
These frames show how flare, glow, and silhouette can become the subject. Notice how each image keeps the brightest area controlled while still letting the light breathe.

Common pitfalls
- Flat subjects from overexposure
- Veiling flare washing out the scene
- Autofocus hunting because of bright glare
- Lens artifacts that distract from the subject
How to recover quickly
If the scene looks washed out, shade the lens and recompose. If the subject is too dark, add a reflector or increase exposure by a third stop while keeping highlights protected. If autofocus struggles, switch to manual focus and zoom in for accuracy.